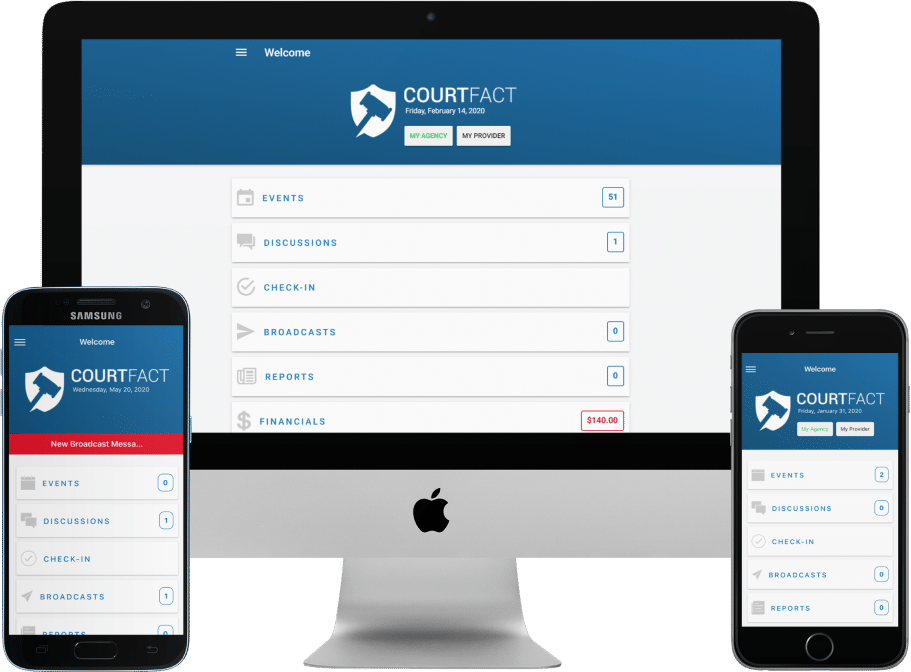
Stay connected and informed with all your program’s guidelines & requirements at your fingertips.


<span data-metadata=""><span data-buffer="">Stay connected and informed with all your legal commitments at your fingertips.
Solutions to Common Issues.
No matter if you use an apple product or are using the Android operating system, making sure that the notification options are set correctly will help you avoid unnecessarily missing important reminders. Remember, having notifications turned on for Client Mobile is a requirement of your program.
For iOS:
Settings >> Notifications >> CourtFact
For Android:
Settings >> General >> Apps >> CourtFact
AND/OR:
Settings >> Sound >> Notifications >> Apps >> CourtFact
CourtFact uses your location for specific functions and having your locations services turned on is a requirement of the program. Locations services aids in a number of functions when ensuring your compliance without your having to provide any direct information to your monitoring authority. Additionally, location services is used to help provide you directions to events and appointments. To ensure that location services are correctly activated follow the steps below.
For iOS:
Settings >> Notifications >> Location Services
For Android:
Settings >> General >> Apps >>Location
Taking good selfies for login
The system will learn your face over time making your Facial ID logins faster, so it is important to take correct selfies at the beginning of your program.
CourtFact uses your location for specific functions as we mentioned earlier in the tips and tricks. You are required to allow CourtFact to use your location services while using the application. However, we strongly recommend changing the permission to always use your location so the application does not constantly ask you to log into the application. The application only uses your location when or after you interact with it. If you start the application in a cellular or location impaired area, then having the location services set to “always” will ensure you can login or check-in when you need to by using your last known location. To update your location services to “always” follow the steps below:
For iOS:
Settings >> CourtFact (in app list) >> Location
For Android:
Settings >> General >> Apps >>Location
Some environments do not have good cellular or location capabilities. These are usually large building, warehouses or factories. To prevent these things from happening, try turning on these options for the CourtFact app on your smartphone. Since each device is different you may have to search where these options are located, if you have them on your particular version of phone at all:
Here are the simple steps to follow the first time you log into Client Mobile by CourtFact:
That’s it! If you’d like a video tutorial, you can watch the video below.
That’s it! If you’d like a video tutorial, you can watch the video below.
Here are the simple steps to follow to properly acknowledge Events in Client Mobile:
Method One (Detailed):
Method Two (Quicker):
That’s it! If you’d like a video tutorial, you can watch the video below.
Here are the simple steps to follow to create your own Events in Client Mobile by CourtFact:
That’s it! You have successfully created an Event. If you’d like a video tutorial, you can watch the video below.
NOTE: Not all agencies allow clients to create Events. If the “Compose” icon does not appear on your Events list screen, you do not have permission to create Events yourself. If you feel this is an important option, you must discuss this with your Case Manager or Officer.
Here are the simple steps to follow to properly complete a Report in Client Mobile:
That’s it! If you’d like a video tutorial, you can watch the video below.
Here are the simple steps to follow to properly complete a Check-In with photo in Client Mobile:
That’s it! If you’d like a video tutorial, you can watch the video below.
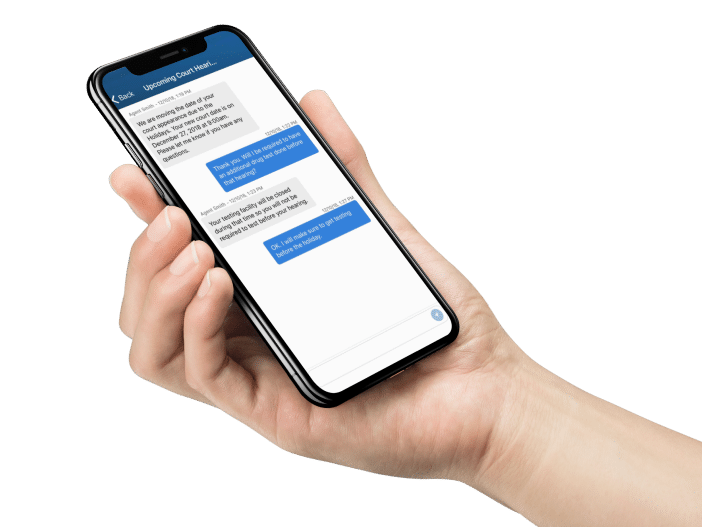
Here are the simple steps to follow to initiate a Discussion with you case manager in Client Mobile:
That’s it! If you’d like a video tutorial, you can watch the video below.
Here are the simple steps to follow to read and respond to a Discussion with you case manager in Client Mobile:
That’s it! If you’d like a video tutorial, you can watch the video below.
Here are the simple steps to follow to check-in for Screening (substance testing) in Client Mobile:
That’s it! If you’d like a video tutorial, you can watch the video below.
Here are the simple steps to follow to view your financial information in Client Mobile:
That’s it! If you’d like a video tutorial, you can watch the video below.
Client Mobile by CourtFact works on nearly all current smartphones and operating systems. We have tested devices that are up to 7 years old and despite some slow responses, the application operates just fine. Here are the minimum requirements for the application:
Apple Products:
Android Products:
Possible issues:
Remember that you must keep locations services fully activated in order to maintain compliance with the use of Client Mobile.
Possible Issues:
It is important to understand that if you receive a message that says “Face not recognized” you MUST change the photo. Sending the same photo through the system again will not yield a different result. Correct any potential issue as stated above and retake your photo and trying logging in again.
Possible Issues:
For security reasons, your Client ID and PIN cannot be (or should not be) provided over the phone, however, it is up to your case manager as to how to provide that information to you.
Possible Issues:
You MUST contact your agency or case manager, or if you do not have an agency that provided you with CourtFact, contact your program provider. We cannot disclose to you your account status, tell you when your account was inactivated or reactivate the account for you.
Possible Issues:
Possible Issues:
Possible Issues:
If the problem persists, we recommend uninstalling and reinstalling the app. This will not effect any other functions or your compliance with the program.
Possible Issues:
It can take up to five minutes for a new feature to appear once activated by your case manager. Try back in five minutes if none of the above resolve the issue.
Possible reasons:
Possible reasons:
Steps to help us fix the issue:
If you do not see the Diagnostics option, then it has not been turned on for your account. Contact your service provider to ensure the option gets turned on.
This will send us the error logs generated by your application. You can fill out the form on this page to let us know when you submitted the error logs to help us track down the issue. In most case, the logs indicate an issue with your operating system or instance of the application, but we use this information to continually improve how the application interacts with different versions of operating systems.
Steps to help fix the issue:
For privacy and security, we do not store information on your personal device, so once you start a Report it must be finished. However, if you are positive that all information is filled out appropriately, we recommend restarting the app and trying again. Unfortunately you will have to complete the Report over again, but in case your app was shutdown improperly previously, this may resolve the issue.
Steps to help fix the issue:
Though this circumstance is extremely rare, it will always have to do with your phone, operating system, app version, permissions on your device or some combination of those items.